Step-by-Step Work Plan
Week 1:
1. Identify the problem. Why do I need the bag?
2. Formulate the specifications that would meet the need of the user.
Week 2:
1. Generate a range of feasible designs and evaluate each design against the specifications.
2. Evaluate the suitability of the materials for the bag.
3. Conduct research on the various types of bags, and source for inspiration online.
Week 3:
1. Create a prototype of the bag and make modifications to the design if necessary.
Week 4:
1. Creation- Measure and cut out the bag according to the specified dimension.
2. Draw up a step-by step plan for the construction of the bag.
Week 5:
1. Source for suitable items to make the bag, and purchase the materials necessary.
2. Start sewing on the velcro.
Week 6:
1. Sew the layers together.
2. Sew the hems and seams.
Week 7:
1. Add the iron-on and make final amendments to bag.
2. Complete the evaluation process and submit the bag.
3. Do the final process and product reflection.
Prototype
I made the prototype below, to see if my design was feasible.
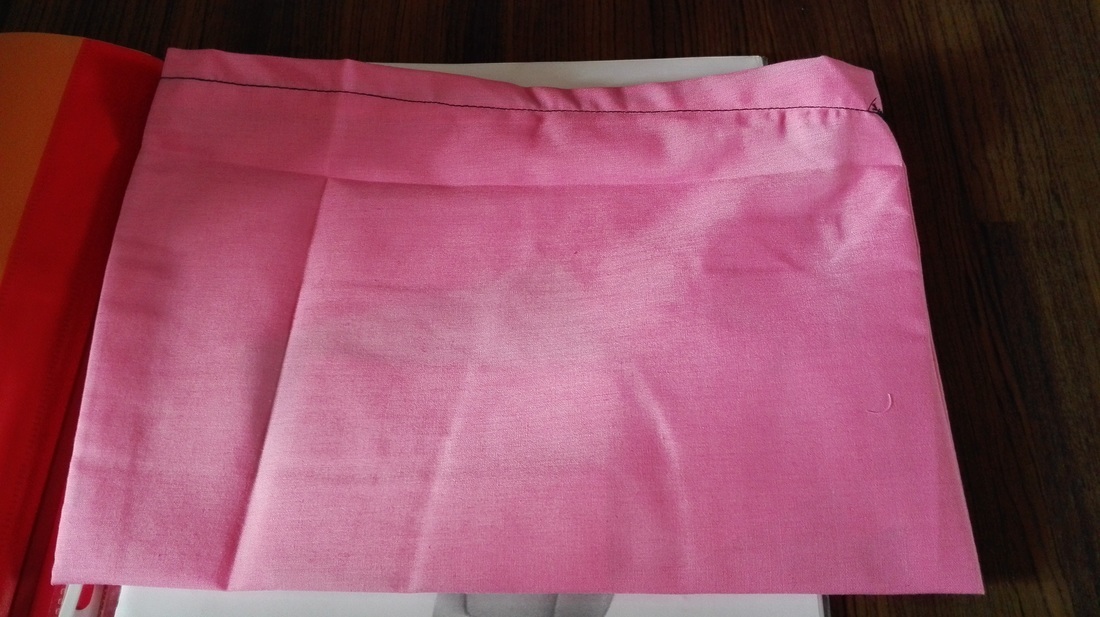
Through making the prototype, I learnt how to sew seams. I also realised that although my design was feasible, I had made an error as I was cutting and sewing the seams of the prototype. I should have cut the back piece of fabric longer, so that I would have excess fabric to use as a flap for my laptop bag. This is something I will have to take note of when making my actual laptop bag. Another error is that the bag should have been portrait, but I accidentally sewed the bag wrongly, and made it landscape instead. This is also something I will have to look out for when sewing my actual laptop bag, to ensure I fulfil the design specifications.
